
I’m a simplest when it comes to do it yourself projects – especially painting ones. I can follow instructions, but am not in the right time of my life to take on anything too laborious. And that’s why I’ve found Annie Sloan Chalk Paint to be the PERFECT answer to my furniture renovation dreams.
Let me explain …
- Thrift a piece of furniture with good bones (easy sliding drawers, not unbalanced, etc.)
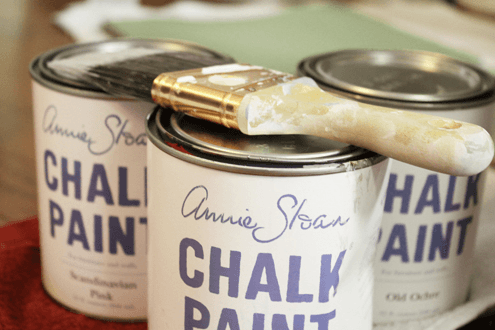
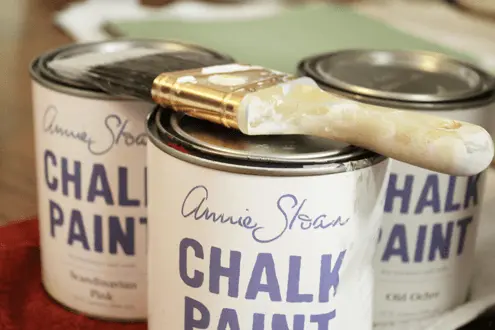
- Buy Annie Sloan Paint and Wax in your color and stain of choice
- Consider the Annie Sloan Paint Brush
- Wipe down your furniture piece so it’s not dusty or grimy
- Start painting
Oh, I hear you … no prepping? No sanding? No primer?
NO! Not one bit of that! Somehow Annie Sloan Paint beautifully adheres to most any surface and with a coat or two your piece transforms before your eyes. Allow the paint to dry and rub the wax on, layer after layer, until you achieve your desired sheen. It’s that simple.
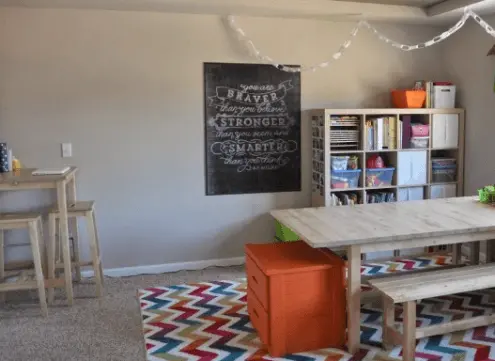
And see that pop of color in our homeschool room? Every room needs a burst of fun!

I’ve done three projects with Annie Sloan Paint and it’s only a matter of time before I attempt a fourth.
I can’t recommend Annie Sloan Paint enough. No doubt in my mind is it worth the investment. Because it works so well, you won’t get frustrated and you’ll be excited to do the next project rather than shaking your fist and swearing off furniture projects for life. So, trust me – get some Annie and get painting!
Oh, and you’ll LOVE the color choices! What is your favorite?
If you dare, start browsing here for tons of Annie Sloan project ideas. If those beauties don’t convince you to give it a try, I don’t know what will 🙂